
Last updated October 31, 2026
 Wrought iron
 Wood & steel frame
 Farm & ranch
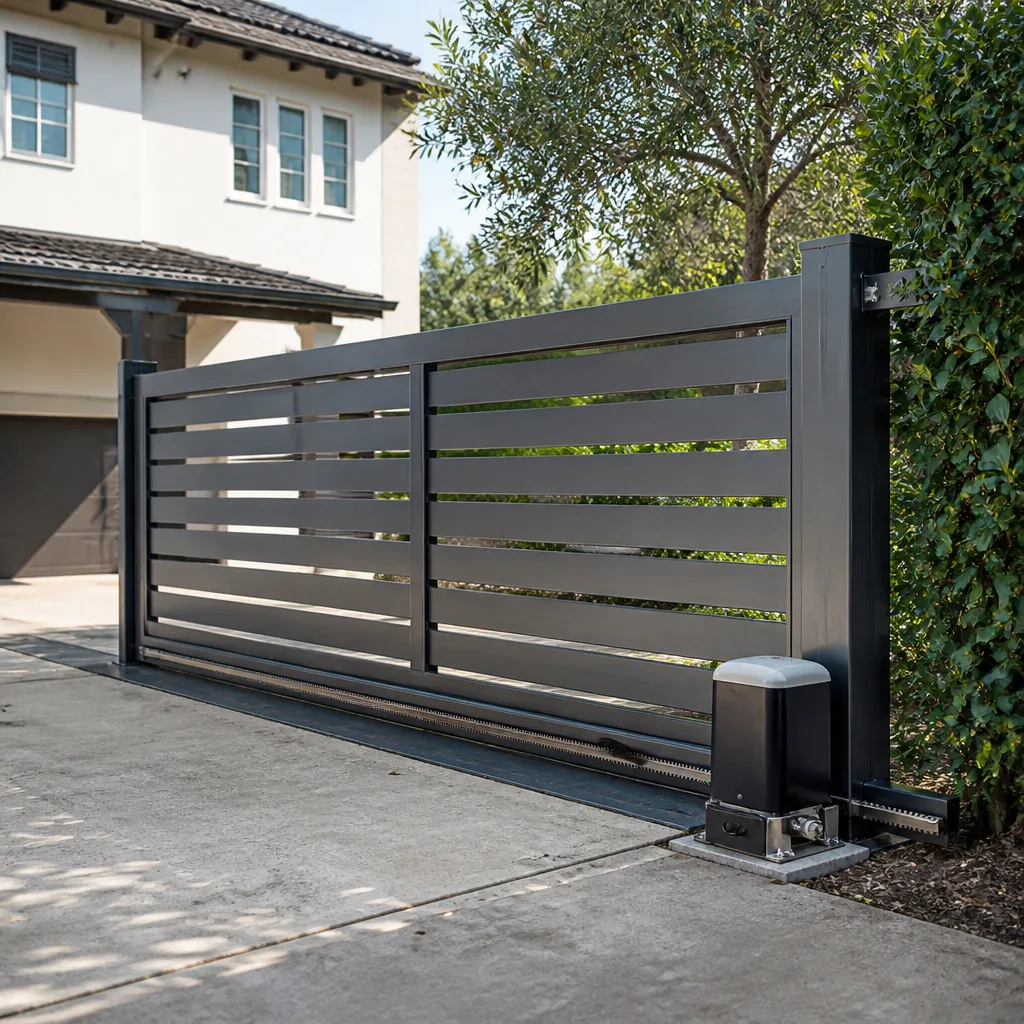 Sliding driveway gates
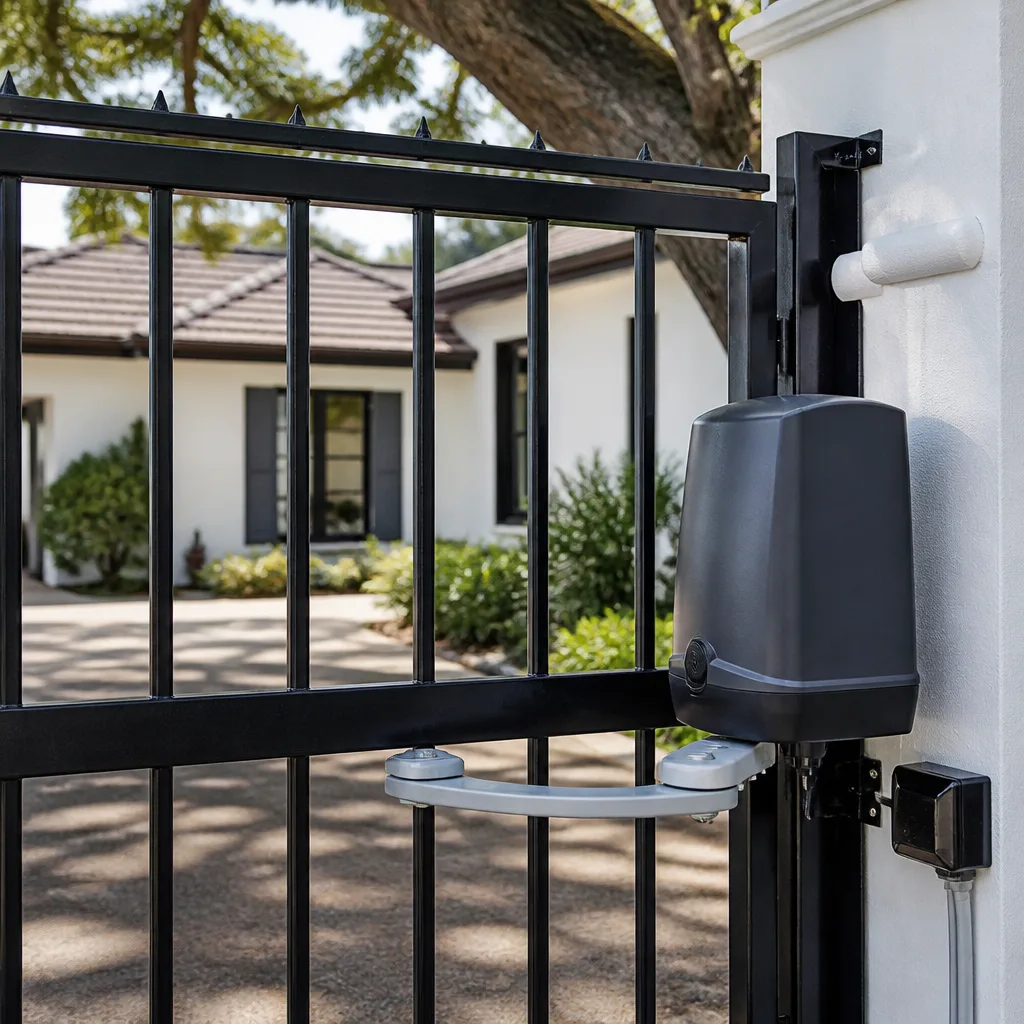 LiftMaster operators
Free on-site gate assessment - hinges, posts, and your LiftMaster or Nice gate operator checked before anything is quoted
The assessment is free and the quote is the invoice.
Get your free estimateGate Repair Maintenance Checklist for Montclair Homeowners
The single most skipped maintenance task on any gate in Montclair is lubricating the hinge pins and pivot points. We saw a swing gate last August where the homeowner had been pressing the remote three, sometimes four times before the gate would move. The motor was fine. The hinges had run dry over a long, hot summer, and the operator was pulling against resistance it was never designed to overcome. That motor died 14 months into a service life that should have lasted eight years. If you read nothing else in this guide, understand this: a maintenance checklist only works if it is calibrated to how your specific gate type ages. A sliding gate on a track has entirely different failure points than a swing gate on buried posts. Treat them the same and you’ll spend money on repairs that preventive care would have eliminated. This guide separates every task by gate type, operator type, and the specific wear patterns Montclair heat, low humidity, and Santa Ana wind create.
Quick Answer
A proper gate maintenance checklist for Montclair homeowners separates tasks by gate type: swing gates need hinge and post checks every 30 days, sliding gates need track and roller cleaning monthly, and all automated gates need a manual-release test and battery backup check every 60 days. The tasks that prevent the most expensive repairs are lubrication of pivot points, cleaning the track or hinge area of debris, and testing the operator’s force settings in high heat. Even with diligent maintenance, any electric gate over seven years old should be inspected by a gate specialist annually to catch control board and capacitor wear that homeowners cannot see.
Styles & brands we work with
Table of Contents
- Swing Gate Maintenance Checklist
- Sliding Gate Maintenance Checklist
- Overhead and Barrier Gate Maintenance Checklist
- Electric Operator Maintenance for Every Gate Type
- Battery Backup Systems: The Test Most Homeowners Skip
- How to Do a Proper Manual-Release Test
- Montclair Seasonal Maintenance Calendar
- The 30-Day Visual Inspection Sequence
Swing Gate Maintenance Checklist
Swing gates are the most common gate type in Montclair’s residential neighborhoods, particularly in the established homes north of the 10 Freeway and in the hillside properties above Central Avenue. A swing gate hangs on hinges attached to a post or column, and every moving component is exposed to our dry, dusty air. The failure pattern is predictable: hinges wear, the gate sags, the sag pulls the post out of plumb, and then the operator burns out trying to push a gate that no longer swings freely. Here is the 30-day checklist for swing gates:
- Lubricate hinge pins and pivot points with a dry silicone or lithium spray. Do not use WD-40. It penetrates well but washes out grease and leaves the hinge with less protection than it started with. Two seconds of spray on each of the top and bottom hinge pins is enough. Wipe off any drips.
- Check for sag. Stand back and look at the gap between the two gate leaves. It should be even from top to bottom. If it narrows at the top, the gate is sagging and the hinges or posts are wearing. This is the earliest warning sign we look for on a service call.
- Inspect the post for lean. Push gently on the gate at the latch side. The post should not move. Any movement means the post footing is compromised. In Montclair’s clay-heavy soil, which expands and contracts through dry-wet cycles, post movement is common and accelerates in late summer after the ground has fully dried out.
- Clean debris from the gate’s base sweep area. Windblown leaves, sand, and small rocks collect where the gate closes. Clear this sweep path every month during Santa Ana season.
- Check gate stop and catch hardware. The mechanical stop prevents the gate from over-traveling. The catch or latch holds it closed. Tighten any visible bolts. A loose catch means the operator’s limit switch is doing work it was not designed for.
One point specific to Montclair homes with stucco columns: hairline cracks at the base of the column are not cosmetic. They indicate the post footing is shifting, and a shifting post will eventually bind the gate. Mark the crack with a pencil line dated that day. If the crack grows past the line within 60 days, the footing needs attention from a gate specialist before the operator takes the damage.
Sliding Gate Maintenance Checklist
Sliding gates are more common on larger Montclair properties and commercial lots along Holt Boulevard, but plenty of residential driveways east of Monte Vista Avenue use them too. A sliding gate rides on a track, guided by rollers, and driven by a chain, belt, or gear rack. The environmental enemy here is grit. Montclair’s dry climate turns the soil along the 10 Freeway corridor and the foothills into fine dust that settles directly into the track channel. That dust becomes grinding paste the moment the gate moves. Track-related failures are the number one reason we replace rollers and drive chains prematurely. Here is the monthly checklist:
- Clear the track channel completely. Every leaf, every pebble, every accumulation of dust. A leaf blower works, but a stiff brush is better. Do not wash the track with water unless you are prepared to dry it and re-lubricate immediately; water accelerates rust on untreated steel track components.
- Inspect rollers for wobble and flat spots. Rollers should rotate smoothly without visible play. A flat spot develops when a roller seizes and then gets dragged. You will hear it as a rhythmic thumping when the gate moves. One flat roller will destroy the track over a few hundred cycles.
- Check the drive chain or belt tension. If it is a chain, look for sag beyond about half an inch. If it is a belt, check for cracking or glazing. A loose chain slaps and wears sprockets. A cracked belt will snap without much warning, usually during high wind when the gate is already fighting the gusts.
- Lubricate the track surface lightly. A dry silicone spray on the top rail where the rollers sit reduces friction without attracting dirt the way heavy grease does. Avoid oil-based lubricants on tracks. They capture grit and turn into the paste we just warned about.
- Inspect the end stops. These are the physical stops at each end of the track’s travel. If they are bent, cracked, or loose, the gate is hitting them too hard. That points to a limit switch that needs adjustment or an operator that is running too fast for the gate’s weight.
Ghost Controls and Mighty Mule sliding operators have plastic drive gears that are designed to strip as a sacrificial part if the gate binds. In our experience, a stripped gear on either brand is almost always a symptom of a track that has not been cleaned in months, not a defect in the operator. Replace the gear, yes. But clean the track or you will replace the gear again in six months.
Overhead and Barrier Gate Maintenance Checklist
Overhead gates, which lift vertically like a sectional garage door but are installed as driveway gates, and barrier arm gates, which are the horizontal arms common at Montclair apartment complexes and HOA entries, are less common on single-family homes but present on enough properties to include here. If your home has either type, your maintenance interval is different. Overhead gates need the same attention as a garage door: torsion spring tension, cable condition, and track alignment. Barrier gates are simpler but still fail, usually at the arm pivot or the operator’s internal gearbox.
For overhead driveway gates, the 60-day checklist is:
- Check cable condition. Look at all four cables running from the bottom brackets up to the drum. Any fraying, kinking, or rust means replacement is needed immediately, not at your next service call. A snapped cable on an overhead gate can release the spring and drop the gate.
- Check spring balance. Disengage the operator and lift the gate manually to waist height. It should stay there on its own. If it drops, the torsion spring is weak. If it flies up, the spring is over-tensioned. Both conditions force the operator to work harder than designed.
- Clean and inspect the tracks. Tracks on overhead gates collect the same Montclair dust as everything else. Wipe them clean and confirm the vertical tracks are plumb and the horizontal tracks are level.
- Tighten all hardware. The through-bolts on the track brackets and the lag screws on the operator mount loosen from the constant vibration of vertical operation. A ratchet with the correct socket takes ten minutes.
For barrier arm gates, check the arm pivot bolt for tightness and the arm itself for cracks, especially where it meets the pivot housing. A cracked arm becomes a wind sail during Santa Ana events. We have seen barrier arms break off entirely and land in traffic lanes during strong gusts off the foothills. Replacement arms are inexpensive. The damage a falling arm causes is not.
Electric Operator Maintenance for Every Gate Type
Most of what we repair at Kensington Gate Repair is not the gate itself. It is the operator, the equipment that moves the gate. And a significant percentage of operator failures are preventable with maintenance tasks the manufacturer already spells out in the owner’s manual, tasks that void warranties when skipped. We work on nine major brands: LiftMaster, FAAC, BFT, Linear, Viking, Ghost Controls, DoorKing, Elite, and Mighty Mule. The maintenance differences between them are real, but the core electrical and mechanical checks apply across all of them.
The operator maintenance tasks below should be done every 60 days. If you are not comfortable opening the operator cover, the first task alone will still tell you more about your gate’s health than anything else on this list.
- Run a full open and close cycle and listen. Stand next to the operator while the gate moves. It should sound like a steady electric hum with consistent pitch. A rising pitch under load means the operator is working harder than it should. Grinding, clicking, or intermittent humming means internal wear. Write down what you hear. When a professional asks when the noise started, you will have a dated record instead of a vague guess.
- Test the force settings. Most modern operators have adjustable force or obstruction sensitivity. Set it to the lowest setting that still moves the gate reliably. The higher the force setting, the harder the gate will hit anything in its path, and the more damage the operator takes when the gate binds. In hot weather, operators work harder because heat increases electrical resistance in the motor windings. Many force settings are cranked up to compensate for a gate that is actually just under-lubricated. That is the wrong fix.
- Check the limit switches. These are the settings or mechanical stops that tell the operator where the open and closed positions are. If the gate slams into the end stops instead of decelerating into them, the limits are off. If the gate reverses before reaching the full open position, the limits are off in the other direction. Small limit adjustments prevent large mechanical damage.
- Inspect wiring for heat damage. Montclair summer temperatures inside an operator housing, especially a dark-colored housing in direct sun, can exceed 140 degrees. Wire insulation becomes brittle. Control board solder joints crack. Look at the wiring you can see without opening the control panel: the power cable, any exposed sensor wires, the keypad cable. Brittle, cracked, or discolored insulation is an early warning.
- Clear the operator housing vents. Operators breathe through small vents. When those vents clog with dust and spider webs, the internal temperature rises and the control board ages faster. A quick brush of the vent openings takes seconds.
A note on warranty compliance for Viking and Elite operators specifically: both manufacturers require documented evidence of periodic maintenance for warranty claims involving premature component failure. We do not want Montclair homeowners losing a warranty claim because they cannot show a maintenance record. A simple spreadsheet with the date, what you checked, and what you found is enough. Take a photo of the operator while you are at it. Dated photos are the best documentation you can keep.
Battery Backup Systems: The Test Most Homeowners Skip
Battery backup systems on automated gates do one job: they let the gate open when utility power is out. And they fail silently. The battery sits in the operator housing or in a separate enclosure, trickles along at whatever charge it can hold, and gives no visible sign that it has lost its ability to deliver the burst of current needed to move a heavy gate. Then the power goes out, the homeowner realizes they cannot get their car out of the driveway, and the battery is discovered dead during the service call. This is one of the most common emergency calls we receive in Montclair during the occasional blackouts that come with extreme heat events and fire-prevention shut-offs in the foothill areas.
Here is the 60-day battery backup test:
- Locate the battery. It is usually inside the operator housing or in a plastic enclosure mounted near the operator. If you are not sure, check the owner’s manual or the manufacturer’s labels. Do not open sealed enclosures unless the manual permits it.
- Turn off the circuit breaker that powers the operator. This simulates a power outage. Do this during daylight hours when you can leave the gate open if the test fails.
- Try to open and close the gate using the remote or keypad. The gate should operate at the same speed as normal, or only slightly slower. If it moves slowly, the battery is weak. If it does not move at all, the battery is dead or was never connected.
- Listen for the low-battery alarm. Many operators beep or flash a warning after a few seconds on battery power when the battery is failing. No alarm is not the same as a healthy battery. The load test in step 3 is the only verification that matters.
- Restore the circuit breaker power. Then run a full cycle on line power to confirm the operator switched back to normal operation.
Battery backup systems are typically rated for three to five years in ideal conditions. Montclair’s heat shortens that lifespan. If your battery is over three years old and has never been tested, assume it needs replacement. A battery that fails a load test is a cheap replacement compared to the cost of a service call during an actual outage, which is usually an emergency call with emergency pricing.
How to Do a Proper Manual-Release Test
Every automated gate has a manual release mechanism. It disengages the operator from the gate so the gate can be moved by hand. In a power outage or an operator failure, this is how you get your vehicle in or out. The test itself is simple. Most homeowners have never done it once. That needs to change, because the manual release is a mechanical system, and mechanical systems that are never exercised will seize or corrode.
The manual-release test, step by step:
- Find the release mechanism. On most operators, it is a T-handle or a pull handle on the operator itself, or a keyed release cylinder near the gate. The owner’s manual shows its exact location. If you do not have the manual, the manufacturer’s model number is on a label inside the operator cover. Look it up online before you need it in a hurry.
- With the gate closed, disengage the release. This typically means pulling the handle and turning it a quarter or half turn to lock it in the disengaged position. The gate should now move freely by hand.
- Push the gate open manually. It should move smoothly, with resistance only from its own weight. On a swing gate, you are checking that the hinges are not binding and the gate has not sagged onto the ground. On a sliding gate, you are checking that the rollers roll and the gate does not drag on the track.
- Push the gate closed manually. Same check in reverse. Listen for scraping, grinding, or any place where the gate catches. Note how much force it takes. If you have to lean into the gate to move it, the operator has been bearing that load every single cycle.
- Re-engage the release. Pull the handle back to the engaged position and confirm it locks. Then run a full operator cycle to verify the operator is driving the gate again.
- Record the date and the force required. This is the single best indicator of developing gate problems. If the gate gets harder to move manually over two or three tests, something is wearing, and it is cheaper to fix at the first sign than after failure.
On LiftMaster and DoorKing operators, the manual release is mechanical and rarely fails on its own. But the release cable, which runs from the mechanism to the handle, stretches and corrodes over time. If the handle feels spongy or the release does not engage fully, the cable or the linkage needs attention. Do this test. If the manual release has seized from years of disuse, that is a repair you want discovered during a routine check, not during a fire evacuation or a dead operator at 11 p.m.
Montclair Seasonal Maintenance Calendar
Montclair’s climate does not have dramatic seasonal swings, but the changes we do get matter for gate wear. The city sits at the base of the San Gabriel Mountains, with hot, dry summers, mild winters, and two distinct wind seasons: the Santa Anas in the fall and occasional strong offshore winds in spring. Here is what to prioritize each season.
Spring: Post-Rain Inspection
- Check gate posts and columns for movement after winter rain. Clay soil swells when wet and shrinks when dry. The spring is when post lean first becomes visible.
- Inspect all exposed metal for rust. Even in a dry climate, winter moisture seeps into scratches and fastener holes. Touch up paint on steel gates. For iron gates, check welds and scrollwork joints.
- Clean the track on sliding gates. Winter debris that sat in the channel through the rainy season is now packed down. Remove it before it hardens.
- Run the manual-release test from the section above. This is a good anchor point for quarterly maintenance.
Summer: Heat Load Management
- Check operator housing temperature on an afternoon above 95 degrees. If the housing is too hot to hold your hand on for five seconds, the internal components are running hotter than they should. Consider adding shade, repainting a dark housing a lighter color, or relocating the operator if possible.
- Lubricate hinges and rollers more frequently. Heat thins lubricants and accelerates evaporation. A monthly schedule becomes more important from June through September.
- Monitor the gate’s operation time. If the gate is moving slower in the heat, that is expected to a degree. But a significant slowdown points to motor windings aging or capacitors weakening. Note it in your maintenance log.
- Test the battery backup. Heat is the number one killer of lead-acid and AGM batteries. A summer load test gives you confidence before fire season power shut-offs arrive.
Fall: Santa Ana Wind Preparation
- Remove wind loads where possible. For swing gates, confirm the open position engages the positive stop. A swing gate that relies on its operator to hold it open during gusts is a bent-gate waiting to happen.
- Clear the sweep area of leaves and small debris. During Santa Ana events, debris blows into the gate’s path and triggers obstruction sensors or blocks closure entirely.
- Check the gate’s wind rating against the actual wind exposure on your property. A gate that has operated fine for years may still be undersized for a particularly strong Santa Ana. If the gate flexes visibly in wind, that flex is fatigue-loading every hinge, weld, and fastener on the gate.
- Inspect all safety edges and photo eyes. These are the sensors that stop the gate when something is in the way. In high wind, dust and debris can coat the sensors and cause false triggers or missed detections. Wipe them clean with a dry cloth.
Winter: Drainage and Electrical Checks
- Confirm water is not pooling at the base of gate posts or the operator pad. Standing water after rain is the starting point for post rot, footing erosion, and electrical ground fault issues.
- Check all low-voltage wiring connections for moisture. Winter is when we see intermittent operator faults caused by water ingress into wire nuts and junction boxes.
- Test the gate’s auto-reverse function. With the gate closing, place a rigid object like a cardboard box in the path. The gate should reverse within a second. This is a safety check required by UL 325 standards and should be confirmed quarterly regardless of season.
- Run a timed full-cycle test at dusk. The lights are on, the temperature is dropping, and this is when intermittent electrical issues tend to surface. If the gate behaves differently at dusk than at noon, there is a thermal or voltage issue developing.
The 30-Day Visual Inspection Sequence
This is the inspection sequence we use when called to a Montclair property, adapted for a homeowner who is not opening control panels or using a multimeter. It takes 15 minutes. Do it once a month. The order matters because each check builds on the one before it.
- Stand at the gate and look at it closed. Check the gap between leaves on a swing gate. Check the alignment of the gate to the track on a sliding gate. Check the arm angle on a barrier gate. Anything visibly out of alignment is the first data point.
- Look at the posts or support structure. Any new cracks in stucco columns. Any gaps between the gate post and the surrounding concrete or soil. Any lean that was not there last month.
- Look at the hinges or rollers. Hinges should be centered without visible wear around the pins. Rollers should sit fully on the track without riding up on the edges. Note any rust streaks running down from the hinge or roller brackets. Rust streaks mean water is working its way into the assembly.
- Look at the operator housing. Is the housing cracked, warped, or faded? Is the cover seated properly? Any visible scorch marks or melted plastic are an emergency, even if the gate still works.
- Look at the safety edges and photo eyes. They should be clean and aligned. Photo eyes should face each other directly. A single branch or vine that has grown into the sight line will cause false triggers.
- Run the gate and watch. Not just that it opens and closes, but how. Does it slow as it approaches the end of travel, or does it hit the stops at full speed? Does it jerk or hesitate? Does anything scrape, squeak, or rattle?
- Run the gate and listen. Stand close to the operator. The sound is the same every month until it is not. When it changes, you have caught a problem early.
- Touch the gate leaf at its midpoint. If you are checking a swing gate, give it a very light push perpendicular to its face. If you are checking a sliding gate, push it side to side. Any movement that should not be there is play, and play compounds into failure.
Write down anything that looks or sounds different. A maintenance log does not need to be elaborate. Date, observation, and a photo from the same angle each month is enough. When you eventually call a gate company, that log is the difference between a diagnostic process and a guess. We would rather arrive with three months of your observations than with no information at all.
Common Mistakes to Avoid
- Lubricating with WD-40. WD-40 is a water displacer and penetrant, not a lasting lubricant. It strips the protective grease from hinge pins and leaves them more vulnerable than before. Use a dry silicone or lithium spray designed for metal-to-metal contact.
- Ignoring a noisy gate because it still works. A gate that has started squeaking, grinding, or thumping is telling you something specific. The noise is the failure starting. Waiting until the gate stops moving turns a $200 hinge replacement into a $1,200 operator replacement.
- Cranking up the force settings instead of fixing the underlying friction. When the gate gets harder to move, raising the operator’s force setting masks the problem for a while. The gate still drags. The hinges still bind. And now the operator is hitting obstacles harder too. Find the friction. Fix it. Then set the force to the minimum that works.
- Skipping the manual-release test. You only find out the manual release is frozen when you need it, and when you need it, you need it right now. The test takes ten minutes every quarter. A seized release costs an emergency call and possibly a damaged operator.
- Never testing the battery backup. See above. A backup that has not been load-tested is not a backup. It is a hope.
- Treating all gate types the same. The maintenance a sliding gate needs is not the maintenance a swing gate needs. If you are following a generic checklist from a general home maintenance site, you are missing the tasks that actually prevent failure on your gate. Use the type-specific checklists in this guide.
- Pressure-washing the gate and operator. Montclair homeowners love a clean driveway and gate. Pressure washers force water past seals, into housings, and into hinge assemblies. The water that gets in does not come back out quickly. Wash with a normal garden hose and a soft brush instead, and never direct water at the operator housing.
See the difference
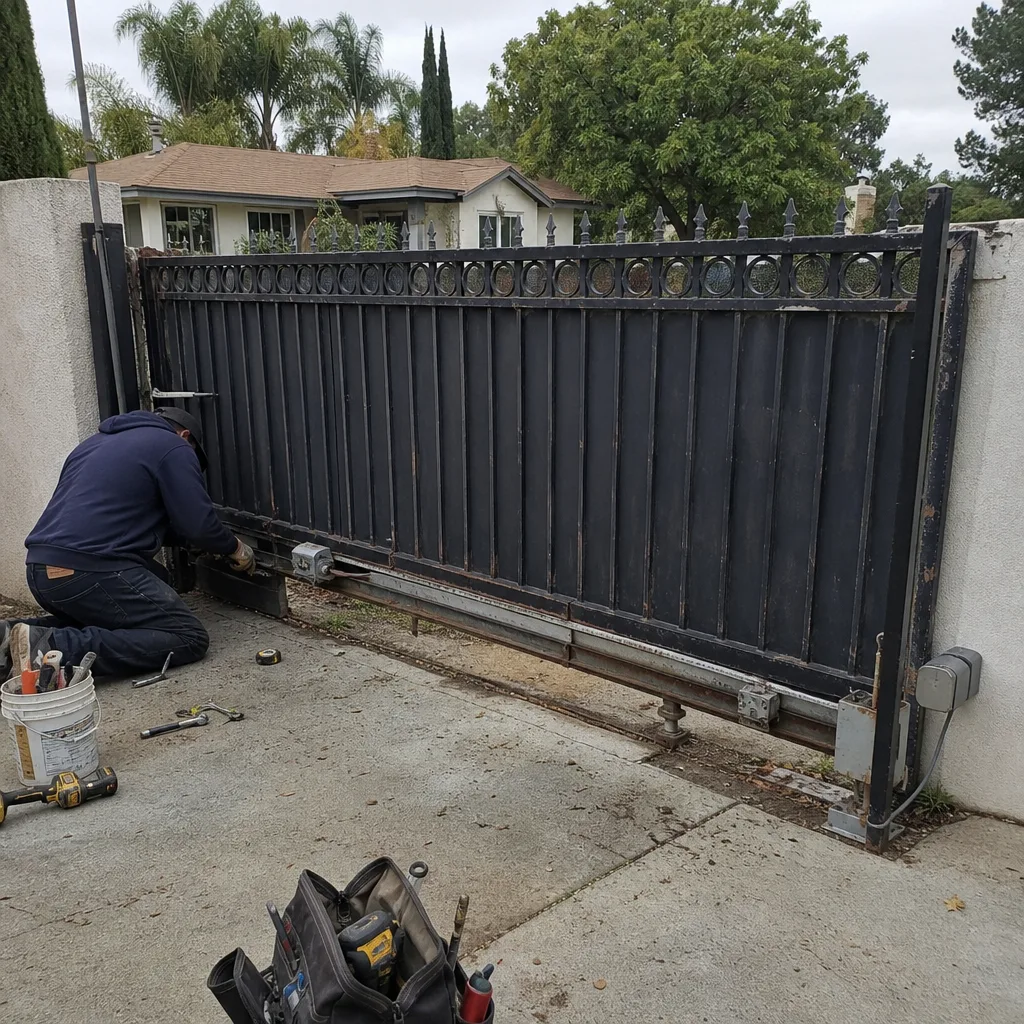 Before
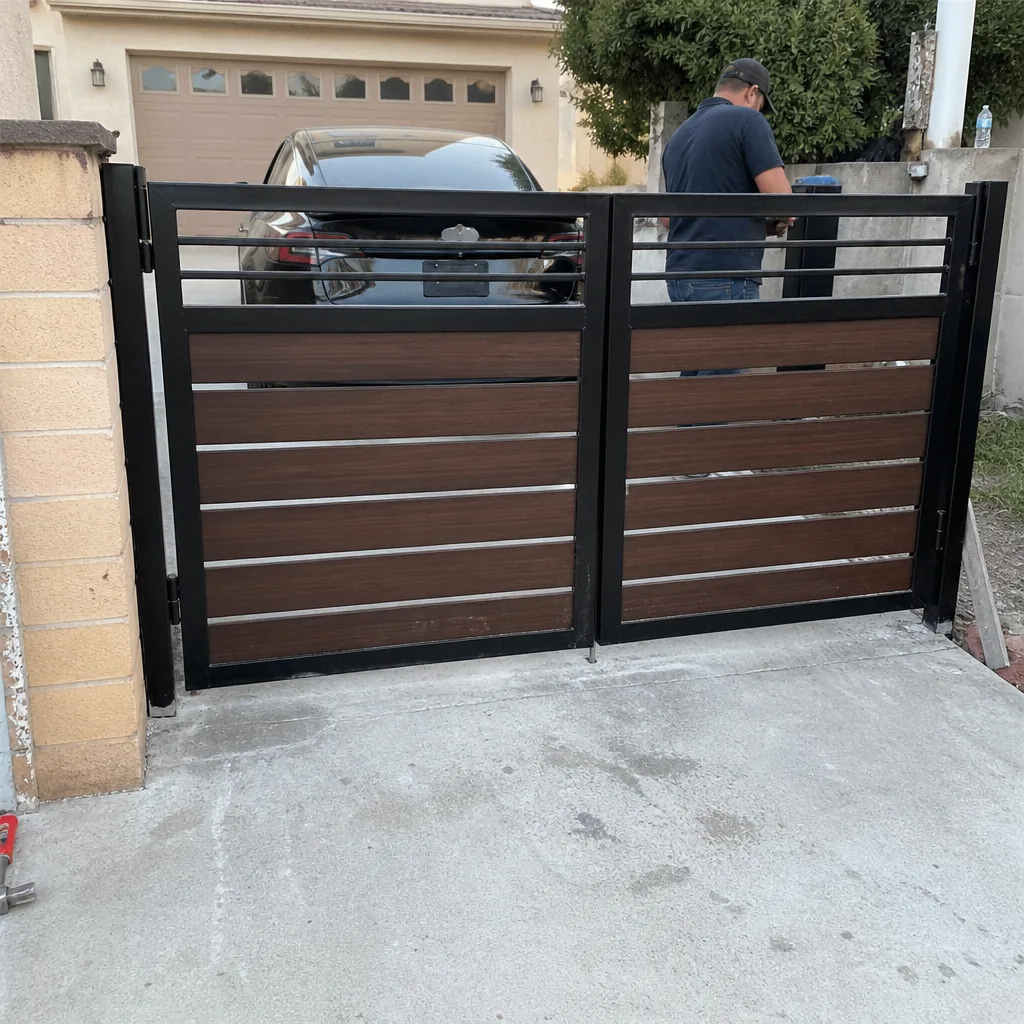 After
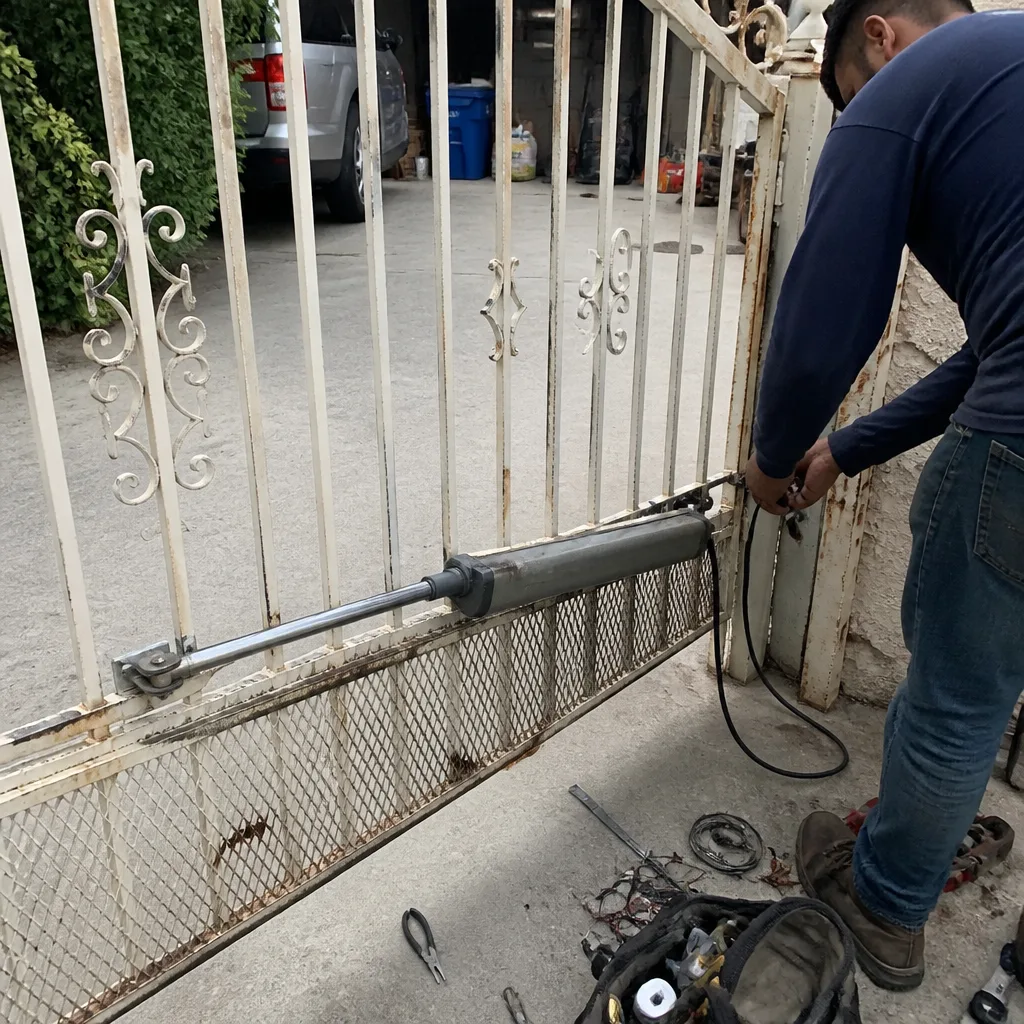 Before
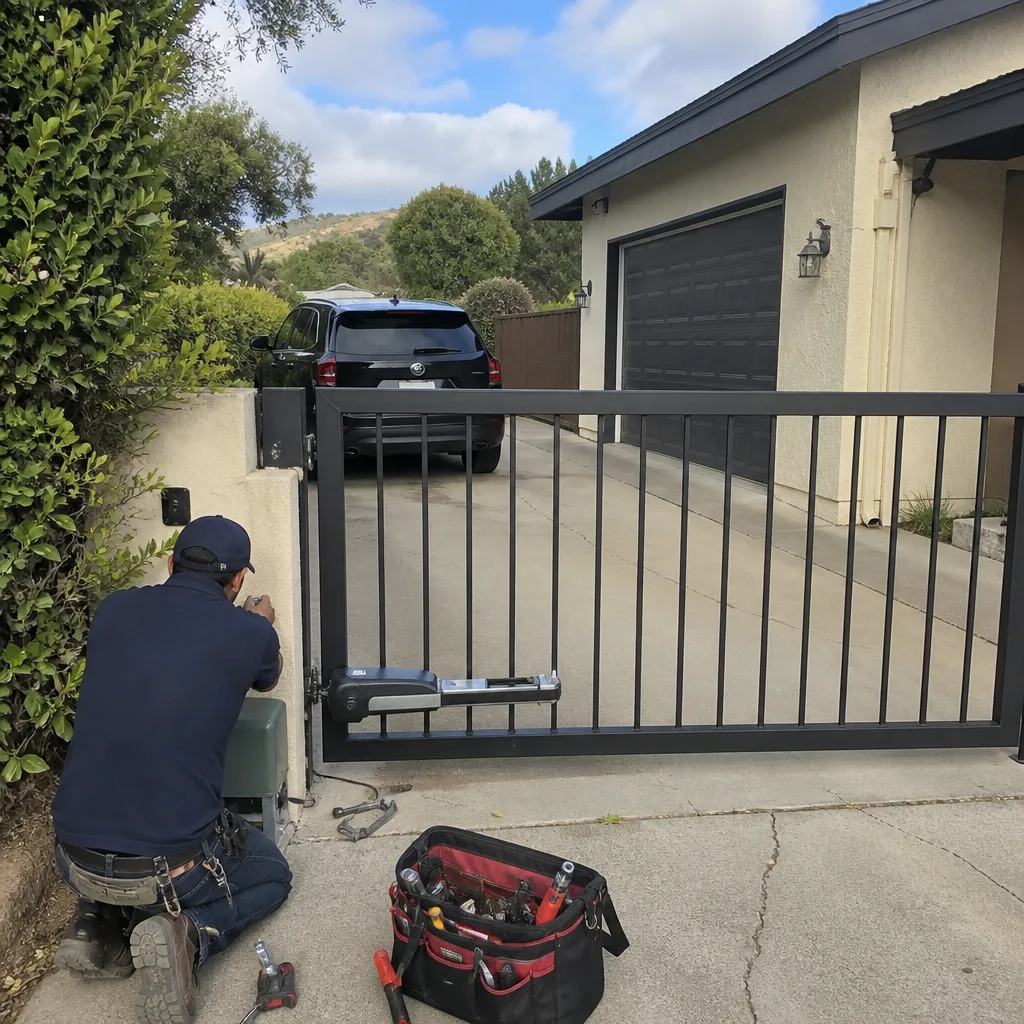 After
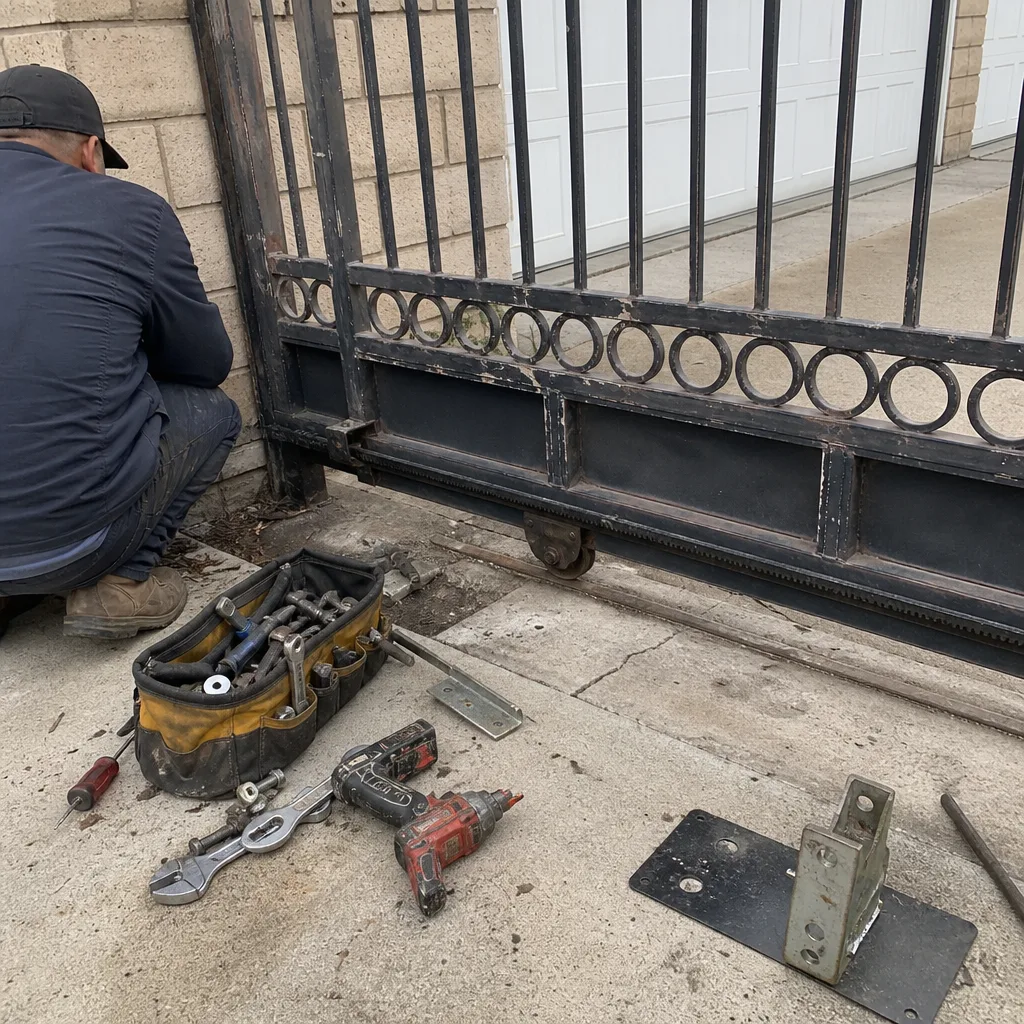 Before
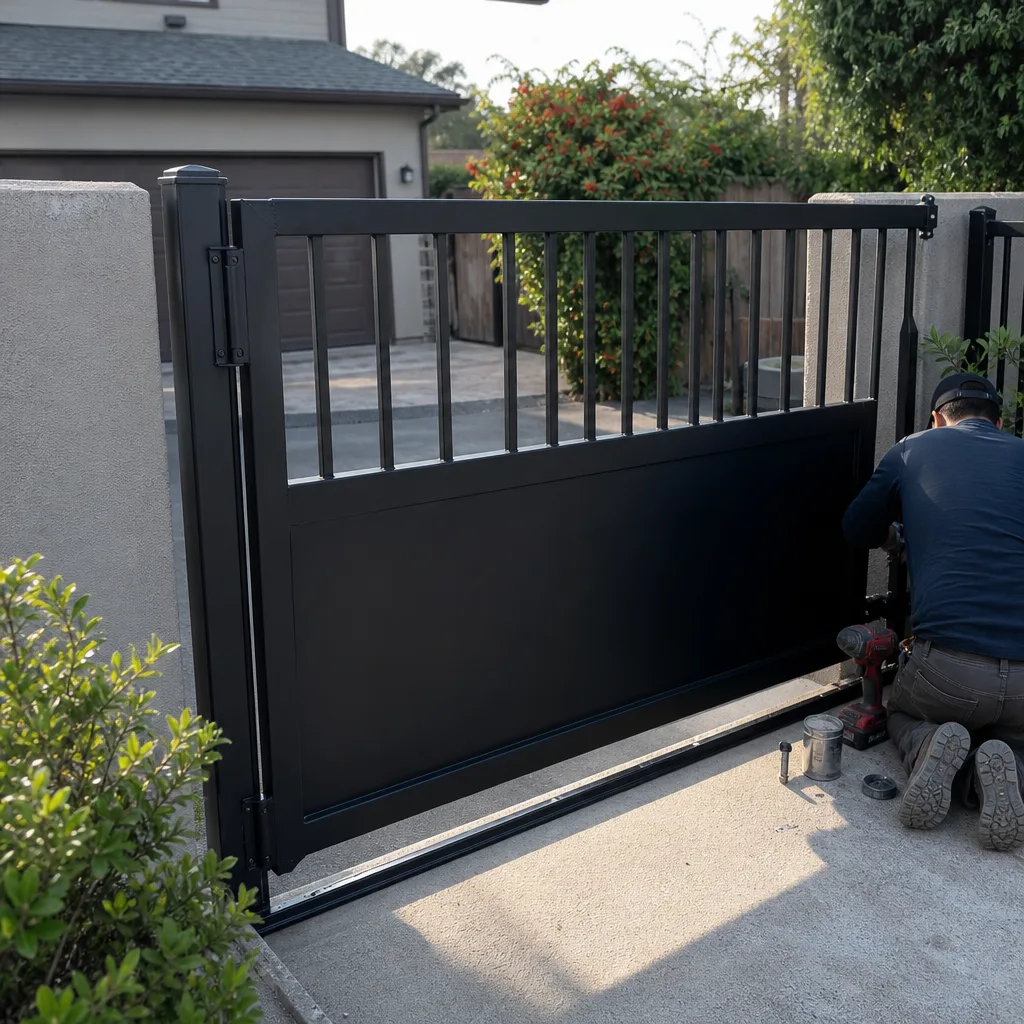 After
When to Call a Professional
Some maintenance findings are within a homeowner’s reach. Others are not. If your monthly inspection turns up any of the following, call a gate specialist rather than attempting to fix it yourself. A gate that no longer stops when it encounters an obstruction is a safety hazard. The auto-reverse and safety edge systems are governed by UL 325 standards, and amateur adjustments can leave a gate that will hurt someone. A gate post that has moved or a stucco column that is cracking requires assessment before it fails further. Any electrical issue inside the operator housing, from scorched wires to a control board that is not responding correctly, has the potential for shock and fire risk. Gate operators run on line voltage. The panel should be serviced by someone who understands it. And any loud grinding noise that is new is a mechanical failure in progress. Continuing to operate the gate accelerates the damage and increases the eventual repair cost. Kensington Gate Repair offers free estimates in Montclair. Call (833) 320-4513 if any of these conditions apply, and we will tell you over the phone whether it is urgent or can wait for a scheduled visit.
For more on how we handle specific repair situations, see our Gate Repair in Montclair page. If your operator is the problem rather than the gate itself, our Electric Gate Repair in Montclair service covers motors, control boards, loops, sensors, and access systems. And if your gate has reached the end of its service life, our Gate Installation in Montclair page explains the full process from measure to final test.
Frequently Asked Questions
Every 30 days, and more often in summer when heat thins lubricants and accelerates evaporation. Use a dry silicone or lithium grease spray on hinge pins and pivot points. Do not use WD-40, which strips protective grease and leaves hinges more vulnerable than before. If your gate is exposed to full afternoon sun on a south-facing Montclair driveway, you may need to lubricate every two weeks during heat waves. Call (833) 320-4513 if you are not sure which lubricant is right for your gate’s finish and hardware.
The three earliest warning signs are a change in operating sound, slower cycle time, and the operator housing running hot to the touch. If the gate sounds different than it did a month ago, that sound change is a mechanical problem developing. If it is moving noticeably slower, the motor or capacitors are weakening. If the housing is too hot to hold your hand on for five seconds, internal temperatures are shortening the life of the control board. Any one of these is a reason to schedule a professional inspection before the operator fails outright.
The monthly checks in this guide are designed for homeowners: cleaning, lubricating, visual inspection, and the manual-release and battery tests are all within reach. What a homeowner should not attempt includes any work inside the operator housing, any adjustment to force or limit settings without understanding the consequences, and any repair to safety systems. Gate operators carry line voltage, and a control panel opened by an untrained person presents a shock hazard. The safe division is: you maintain the gate and the mechanical components you can see; a specialist maintains the operator and the electrical systems. Before any major work, check Gate Repair Permits, Codes & Inspections in CA: What You Need to Know.
Yes. Operators installed in direct sun reach internal temperatures above 140 degrees on summer afternoons. Heat increases electrical resistance in motor windings, accelerates capacitor aging, and degrades wire insulation. Control boards are the component we replace most often in older Montclair installations, and heat is the primary contributor. If your operator housing is dark colored and in full sun, consider a shade structure or a lighter paint job. The operator will run cooler and last longer.
First, find the manual release and disengage it. Then push the gate open by hand. If the manual release is seized or the gate will not move manually, the gate has a secondary problem that the power outage is simply exposing. After power is restored, run a full open and close cycle and note any unusual sounds or behavior. If the gate was hard to move manually, that resistance is what your operator has been fighting. It is the first thing we check when a Montclair homeowner reports a dead operator after a power outage. Electric gate repair is not something to postpone when the manual operation is compromised too.
Minor mechanical repairs like hinge replacement or roller swaps typically run $150 to $400 depending on the gate size and hardware. Operator component repairs like capacitor replacement or limit switch adjustment usually fall between $250 and $600. Full operator replacement, including the new unit and labor, ranges from $1,200 to $3,500 depending on the brand, horsepower, and whether battery backup or additional accessories are included. These are Montclair market ranges, and your specific gate and operator affect the number. Call (833) 320-4513 for an exact quote. Estimates are free, and the price is confirmed with you before any work begins.
The Bottom Line
A gate maintenance checklist that treats every gate the same is not much better than no checklist at all. A swing gate fails at the hinges and posts. A sliding gate fails at the track and rollers. An operator fails when it is forced to fight the gate instead of simply moving it. Montclair’s heat, dust, and wind accelerate all of these failure patterns, which means the 30-day and 60-day tasks in this guide are not optional, they are what keeps a gate on a 20-year service life instead of a 7-year one. Do the visual inspection. Do the manual-release test. Test the battery backup. Write it all down. When something changes, call a gate specialist before the change becomes a failure. Kensington Gate Repair works on every major gate brand and every gate type found in Montclair, and we would rather catch your problem early than meet you during an emergency.
Written by the team at Kensington Gate Repair, serving Montclair since 2011.